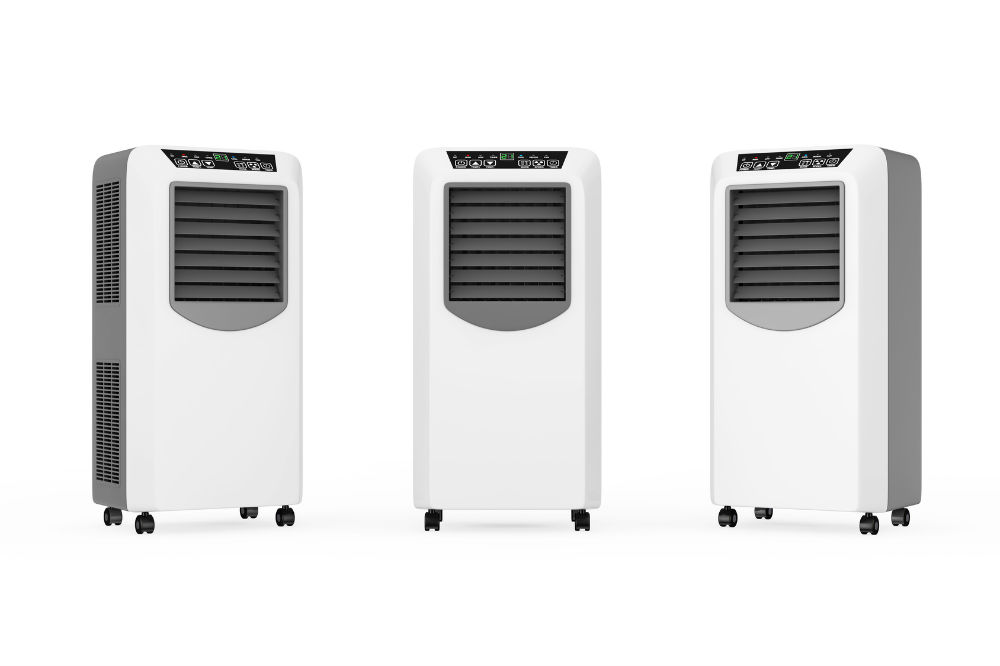
Portable air conditioners aren’t too difficult to set up, but they need a minor setup before they’re ready for use.
Ventilation is an essential and unavoidable part of a portable air conditioner. However, before deciding how best to set up a ventilator, it’s essential to understand why ventilation is necessary.
We’ll explain how to do the job right for every type of vent installation in windows, doors, or walls.
Why Ventilate Your Air Conditioner at all?
Air conditioners need to expel hot air as a part of their cooling process.
The resulting hot air must be directed outside of the space being cooled. Otherwise, you are sending the hot air back into the room, where it will just be re-created.
Types of Ventilation Systems
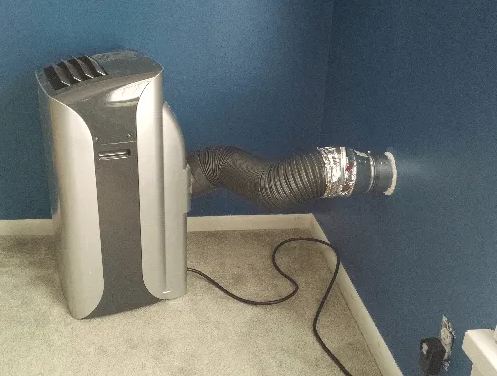
There are two ventilation systems for portable air conditioners: single-hose and double-hose (or dual-hose).
A single-hosed unit takes in the room’s air and cools it down, releasing almost all that cooled air back into the room again.
Some of the air inside the house is used to cool down an air conditioner, which is then blown into the house through its one exhaust hose and out of the room.
Dual-hose system works a bit differently than single-hose systems. Like the single-hose unit, the unit draws in room air, cools down, and releases it into your room.
However, the intake pipe draws in air from outside to help cool down the unit, whereas the single-hose version uses the same air as the rest of the house. That air is then released through the second hose.
What Difference Does This Make?
The single-hosed system uses the same air in one room for everything, which causes a negative pressure in the room. The dual-hosed portable unit doesn’t create negative pressure, which usually makes it more efficient than single-hosed portable units, and also creates a better atmosphere.
The tradeoff to using a dual-hose air conditioner is that it uses two internal fans, which might lead to slightly higher energy consumption. Regardless, high-end portable air conditioner systems usually have a dual-hose system.
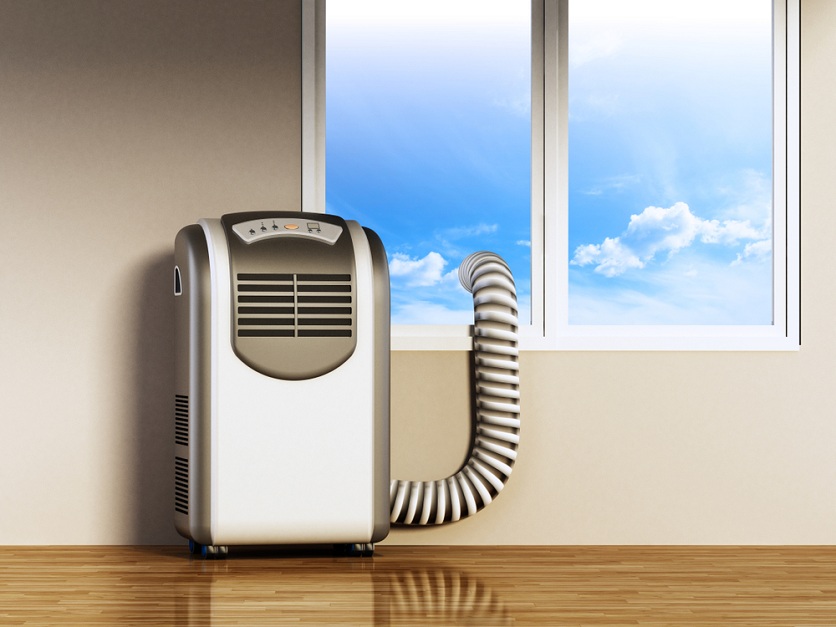
The key word in air conditioners is “portable,” so naturally, you can set up your unit in a few different places inside your property when venting.
Most portable air conditioners are used by people who want to vent the hot air out of their house through a window. Most units come with kits to help you get started. This is done by putting a bracket into the window and then connecting the hose to it using a hose clamp.
If you have a slider door that leads outside, you can usually set up the ventilation system in the same manner as you would for a window. The concept is the same, only with an extended bracket installed vertically.
Some air conditioner owners may direct the hot air to another room or another part inside their house, usually a garage or storage room, rather than outside. The installation process is slightly more complicated but can be completed if you have a basic understanding of a few tools.
How to Vent Properly
The first step to properly venting is deciding where you’ll be using the unit most of the time. This is usually near a window, so we’ll start there.
Most units come with a window kit.
The basic window kit consists of a window bracket, one vent hose, and vent hose adapters, among other things.
The length of the typical vent hose extends 4 to 6 feet, so you need one installed near a window.
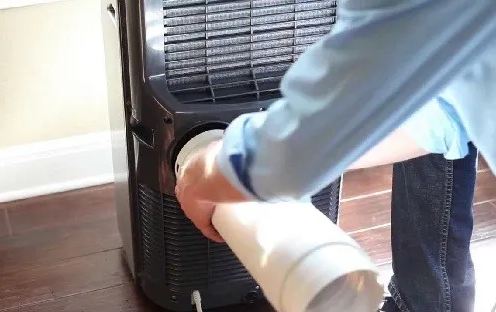
First, attach the hose connectors or adapters. Then, insert the hose (or hose) into the adapter. After doing so, open the window enough to fit the bracket from your installation kit.
Extend the window kit, so it fits inside the length of your windows. You may need to adjust the bracket so that it fits precisely into the opening of your window frame.
Once the kit is inside the window, close the door again to keep it from falling out. Some units even come equipped with screws to help hold them in place.
Once the bracket is installed, attach the vent hose from the air conditioner to the window kit.
The air conditioner has been set up for use.
Sliding Door Installation
If you’re installing the unit in a room with a sliding door, the ventilation system will be the same.
The only difference is the sliding door will be longer than a window, so it will require a different bracket or more brackets to support the door.
The bracket can be attached to the door when it is open. If you’re installing the bracket, you can use Velcro strips inside the doorframe to keep the bracket from sliding around when you open and close the door.
If you want to vent your unit through the wall, you’ll need to drill a hole first.
You’ll probably need a circular saw that can cut a hole in the wall. Make sure you measure each wall side at the same spot so they line up. Lowering the holes closer to the ground is recommended.
Cut your holes in your walls so they’re big enough to fit the water hose through them.
Attach the hose to the unit by inserting it through the wall.
You can help keep the hose in place using Velcro strips or adhesive tape.
I’m a degreed ME (mechanical engineer) who is passionate about machines of all kinds. I created MachineWonders.com as a way to connect with others who love machines like me – or need help choosing one for their needs, application, or situation.