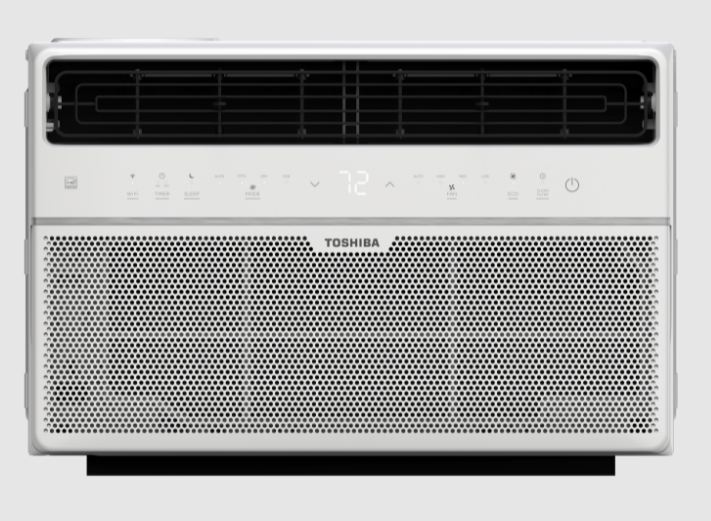
Installing a window AC is a great way to beat the sweltering summer heat.
If this is your first time doing this, this guide will explain the entire process so you can make your house more comfortable in the summer.
Before you get started
Before installing any window AC, there are some basic things you need to know:
- Select the window where you will install the AC and make sure there’s a 3-prong outlet near it. If there isn’t one, then make sure you have an extension cord that is labeled for AC use.
- Look at the total load on the circuit you will use so that you don’t overload it and cause a blown fuse or tripped breaker. If the circuit also powers other devices (even as simple as a hair straightener), consider moving those devices elsewhere, choosing another window near another circuit, or adding a dedicated circuit.
- Most ACs fit double-hung windows that come with an adjustable sash. However, if you have a casement-style or sliding window, make sure that your AC can fit in it. Also, measure the height and width of the window to confirm that your unit will fit.
- Also, determine the rain protection and additional insulation you want to add around your window. For instance, you can fit pieces of foam insulation between both the window sashes to keep external factors such as the weather elements in check.
- Also, factor in the side of the house that your window faces. If the wind tends to direct the rain against that side, then you will need more barriers to prevent the water from entering. Meanwhile, west-facing windows might get more sun and make your unit work harder.
- If there are drapes or curtains at the window, avoid adding shades or blinds since they can block the AC.
Get the window ready
- Select the window where you will install the AC and make sure there’s a 3-prong outlet near it. If there isn’t one, then make sure you have an extension cord that is labeled for AC use.
- Look at the total load on the circuit you will use so that you don’t overload it and cause a blown fuse or tripped breaker. If the circuit also powers other devices (even as simple as a hair straightener), consider moving those devices elsewhere, choosing another window near another circuit, or adding a dedicated circuit.
- Most ACs fit double-hung windows that come with an adjustable sash. However, if you have a casement-style or sliding window, make sure that your AC can fit in it. Also, measure the height and width of the window to confirm that your unit will fit.
- Also, determine the rain protection and additional insulation you want to add around your window. For instance, you can fit pieces of foam insulation between both the window sashes to keep external factors such as the weather elements in check.
- Also, factor in the side of the house that your window faces. If the wind tends to direct the rain against that side, then you will need more barriers to prevent the water from entering. Meanwhile, west-facing windows might get more sun and make your unit work harder.
- If there are drapes or curtains at the window, avoid adding shades or blinds since they can block the AC.
Installing an AC requires you to prep the area a bit.
You first need to thoroughly inspect the windows. Once you install the unit, you most likely won’t remove it for years to come, so it’s better to clean the glass. You should also clear the space around the window and ensure you have enough space to work and move around without tripping.
Next, ensure that the window opening doesn’t have any obstructions. If your window has a storm screen or a storm window frame, it can interfere with the AC’s overhanging part on the outside. If you don’t want to remove the screen, you can fasten a spacer block to the sill to lift the AC case away.
However, make sure the spacers are fixed in place to prevent the AC from tilting or falling. Vibrations, weather, or even just lifting the AC on the sill can move the unsecured spacer out of its place.
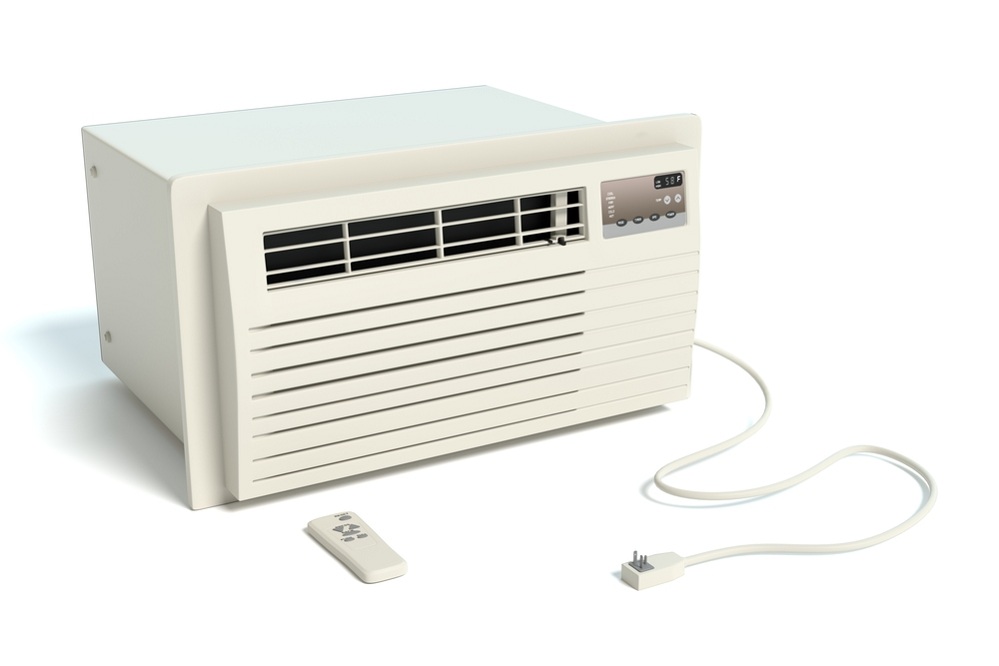
Install the AC

You now need to prepare your unit for installation. For this, you need to attach the brackets and the side curtains. Also, check the dimensions of the AC and compare them with the size of the window opening to confirm your unit will fit easily.
You are now ready to install your AC. While we’ve listed the general steps you need to follow, make sure you read through the manufacturer’s instructions as well.
Step #1: Balance the AC in Place
Set the AC in its position. Since an AC is pretty heavy, you will need help with this step.
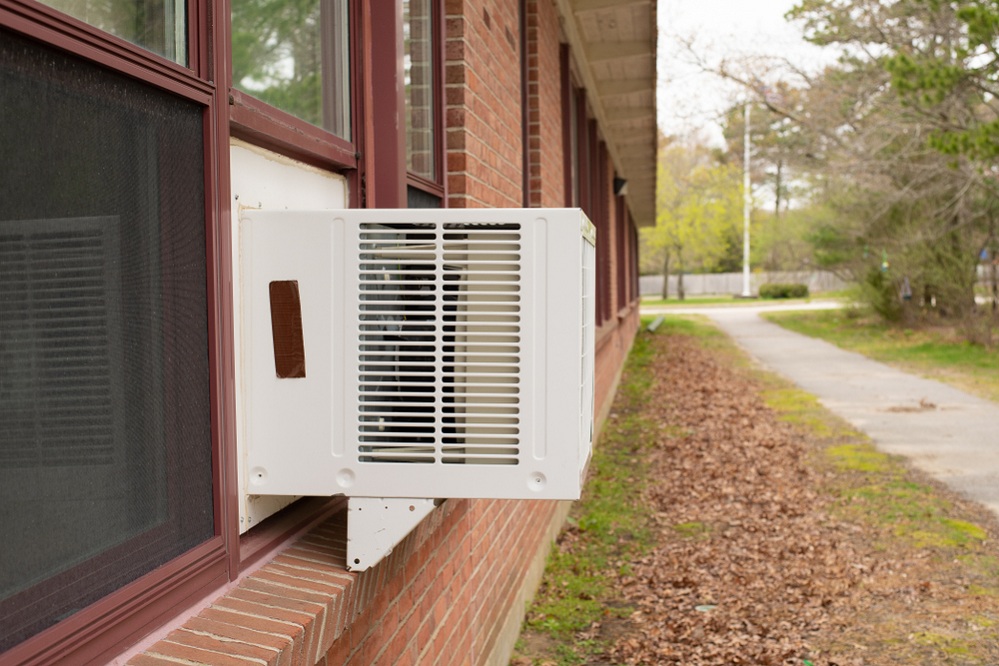
Push the bottom sash up as far as possible and then center and place the AC in the window. Slide the flange on the AC’s bottom against the windowsill’s outside edge. While doing so, make sure you keep your AC balanced.
Next, lower the bottom sash such that securely it rests on the AC and against the top flange.
Once again, make sure you look at the instruction manual for the right positioning so that the condensation drains properly.
Step #2: Secure the Sash

Once you balance the AC on the windowsill, the next step is to fix the sash so that it holds the unit in its place.
Insert 2 screws through the flange on the AC into the sash to prevent the sash from accidentally moving. Drill pilot holes to prevent the screws from breaking the wood.
For drilling, use a bit that’s a little smaller than the screw’s core. Also, wrap some masking tape around the drill bit you use to limit the drilling depth to the screw’s length.
Finally, fasten the L-shaped clips to connect the two sash frames. You can also cut spaces and wedge them between the window frame’s top and the bottom sash.
However, you can’t use L-shaped clips in all windows, like vinyl windows. In this case, you can use strips of wood that are long enough to fit between the window frame’s top and the bottom sash snugly.
Step #3: Prevent External Elements from Entering
Now pull the side curtains to the window frame’s edges to keep elements like hot air, moisture, and bugs from entering. Go through the manufacturer’s instructions to know how to clip or screw the curtains in place.
Also, know that while extending the curtains can help seal the room, it isn’t a substitute for insulation. So, if your window gets a lot of sun, it’s better to cut white foam insulation and wedge it around the outside opening.
Alternatively, you can use accordion-style insulation panels and alter them or cut them accordingly.
Step #4: Fill in the Spaces
You also need to fill the space between the window on the upper sash and the lower sash’s frame. Most units come with a foam seal that you can cut accordingly and fix in place. If it doesn’t, you can just buy foam fillers separately.
Step #5: Enjoy!
You’re almost done! All you now need to do is just plug the AC in and let it cool you down.
Do’s and Don’ts

Installing a window AC is pretty easy, and you can usually do it on your own. However, make sure you keep these dos and don’ts in mind.
Don’t
Assume You Can Install a Window AC
Most single-family homeowners can install a window AC without any problems. However, if you live in a condo complex, an apartment, or a neighborhood that has a homeowner’s association, make sure you are permitted to install a window AC.
Some complexes and apartment owners don’t allow window ACs because of aesthetic reasons. Some also refuse because an incorrectly installed AC can fall from the window and become a safety hazard.
Forget to Double-Check the Measurements
When it comes to window ACs, you need to measure the width and height of the window opening as well as the square footage of the area you want it to cool.
Manufacturers usually list the acceptable size range of the window and the maximum square footage the AC can cater to on the box. So, make sure all the measurements are correct and in line with the manufacturer’s specifications.
For the window, open it as far as possible and use a tape measure to measure the window from top to bottom and side to side.
Meanwhile, for the square footage of the area you want to cool, ask someone to hold the tape measure against a wall. Then, extend the tape to the opposite side of the wall to determine the length. Repeat the process to figure out the width.
Once you have the length and width, multiply the two measurements, and you’ll get the square footage. So, for instance, if the area is 13 feet long and 12 feet wide, it is 156 square feet.
Go Ahead With the Installation Without Someone’s Help
Window ACs generally weigh 50-100 pounds, so you will need to enlist someone’s help to fit the unit into the window and hold it in place while securing it with screws.
If you attempt the installation alone, you might injure yourself or drop the AC out of the window.
Do
Check Your Window
As discussed above, you should make sure your AC can fit the window style of your home. Along with that, you need a 3-prong plug nearby.
Apart from that, consider the area both directly outside and inside the window. It’s best if you choose a shaded or partially-shaded window as direct sunlight can decrease the AC’s efficiency by up to 10%.
Also, keep in mind that an AC needs sufficient clearance space for uninterrupted airflow. So, make sure the window is free of obstructions like trees, furniture, shrubs, and walls within 20 inches of the AC both on the outside and inside of the window.
Choose the Correct Power

When selecting an AC, look at the BTUs and the EER of the AC.
The energy efficiency rating (EER) of the AC can be around 8-12. The energy efficiency increases as the EER goes up.
According to the US Department of Energy, an EER of 10 or more is better if you want to see significant savings on your utility bills.
Meanwhile, the larger the room, the more BTUs you’ll need to cool it. If you choose an AC that’s not powerful enough for the room’s size, it won’t be able to reach the desired temperature.
Similarly, if the unit is too powerful, it will cycle off and on very quickly, and only parts of the room will cool down.
So, for the best results, make sure you use the AC in the room size that the manufacturer recommends.
I’m a degreed ME (mechanical engineer) who is passionate about machines of all kinds. I created MachineWonders.com as a way to connect with others who love machines like me – or need help choosing one for their needs, application, or situation.