How to Install a Through-The-Wall Air Conditioner Sleeve Yourself
This site contains affiliate links to products. We may receive a commission for purchases made through these links.

If a windowless space requires an air conditioning unit, a through-wall air conditioner system should be used to ensure proper ventilation.

Installing a unit in a wall allows the owner to put the unit in almost any location.

You’ll need to cut a hole in the wall and install a sleeve to hold the HVAC unit. Every installation is different and will require some thought.

Things to Consider Before Proceeding

  • How thick is the wall?
  • Electrical: the power to the unit; the wiring in the wall
  • Studs: required for support, separation distance

Some walls are thicker than others.

You can’t always trust your eyes.

The AC unit needs electricity and must be located near a socket, or a socket must be installed near it.

Before cutting into the studs, mark their location on the wall’s surface.

Remember that wires or pipes can be inside walls. So you need to think carefully about where you want to go.

Items Needed

through-the-wall air conditioner sleeve
  • Basic Tools
  • Caulking
  • Level
  • Lumber for Header and Footer
  • Sleeve
  • Screws & Nails

A sleeve will also be required, which is generally included when you buy a new unit.

The sleeve is purchased separately. Ensure the measurements are accurate for the unit and sleeve to obtain a good fit.

A header and footers are often built for the sleeves to sit in. However, headers and footers may be unnecessary depending on the wall type.

The main objective of the header/footer container on a mobile device is to provide a stable platform for the device to do its job.

You can build header and footer sections out of 2x4s or similar.

You’ll need basic tools, such as a drill, saw, hammer, caulker, etc.

Basic Steps to Install a Through-the-Wall Air Conditioner

  1. Mark up the wall where the device will be placed. The first thing to do is mark the wall where you want to cut an opening. Find all the nails and use a pencil to draw a dot on each one.
  2. Cut the sheetrock into sections along the marked lines.
  3. Check for insulation and pipes and wires running through the walls.
  4. Drill through the wall at all four corners to have a manufacturer show you where to drill.
  5. Cut any studs before you start building the header/footer.
  6. Insert the header and footer so they hold the device.
  7. Cut the hole.
  8. Put the sleeve in, then twist it into place.
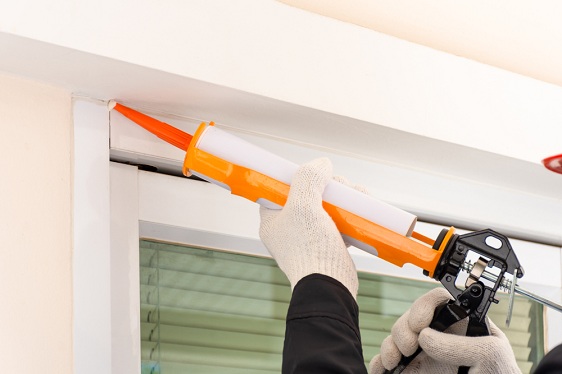
  9. To prevent leaks, caulk along the exterior border of the sleeves.
  10. Place the device into its sleeve and screw it in. Then, turn it on and test it out.

Summary

Wall Air Conditioners

The above are the essential steps for installing a through-the-walls air conditioner. Each situation will vary depending on the type of wall and power supply.
The basics are to drill a hole through which the unit enters, build a secure base to sit on, and have power close.

A handy DIY type person can carry out most jobs themselves.

If in doubt, call a specialist.

Leave a Comment

Your email address will not be published. Required fields are marked *

This site uses Akismet to reduce spam. Learn how your comment data is processed.